Garlic Goodness: An OTG Way to Homemade Garlic Bread

The secret ingredient to every meal is love and lots of garlic. Garlic has a unique and pungent taste that can elevate your everyday meals. It contains antibacterial and antifungal properties, which can help boost the immune system. It also contains prebiotic fibre, which can help support gut health. And if you can’t get enough of garlic, you may want to consider a delectable garlic bread. What’s more, you can make one yourself, using an Oven Toaster Griller (OTG), one of the best kitchen appliances you can own. In this article, you can find out how to make garlic bread in an OTG
How to Make Garlic Bread in an Oven Toaster Griller (OTG)
Here’s how you can make garlic bread in an OTG:
Ingredients (serves 1-3):
-
1 bread loaf
-
1/2 cup (approximately 120g) unsalted butter, softened
-
4 cloves of garlic, minced
-
2 tablespoons fresh parsley, chopped
-
1/4 teaspoon salt
-
1/4 teaspoon black pepper
-
Optional- grated Parmesan cheese
Instructions:
-
Preheat your OTG appliance to 190°C (375°F) and line a baking sheet with aluminium foil.
-
Begin by preparing the garlic butter spread. In a small mixing bowl, combine the softened butter, minced garlic, chopped parsley, salt and black pepper. Mix well until all ingredients are thoroughly incorporated.
-
Take the bread loaf and cut it into diagonal slices, about one inch thick, but do not slice all the way through. Leave the slices attached at the bottom, so the bread holds its shape while baking.
-
Now, using a butter knife or a small spoon, carefully spread the prepared garlic butter mixture on both sides of each bread slice. Make sure to cover the bread evenly with the garlic butter.
-
If desired, you can sprinkle grated Parmesan cheese on top of the garlic buttered bread for added flavour.
-
Once you have coated all the bread slices with garlic butter, place the loaf on the prepared baking sheet. If you have any remaining garlic butter, you can spread it on the top of the loaf.
-
Place the baking sheet in the preheated OTG and bake for about 12-15 minutes or until the bread is golden brown and crispy. The garlic aroma should also be fragrant.
-
Once the bread is coated in the garlic butter, carefully remove it from the oven and let it cool slightly before serving. Serve it warm and enjoy!
Advantages of Using an OTG
Now that you know how to bake a garlic bread in an OTG, the following are several advantages of OTG:
-
Multi-function: An OTG combines the functionalities of an oven, toaster and grill, providing a versatile appliance for various cooking purposes. It allows you to bake, toast, grill and roast a wide range of dishes, making it suitable for diverse cooking needs.
-
Space-saving-: OTGs are generally compact in size compared to full-sized ovens. This makes them perfect for kitchens with limited counter space or for individuals living in apartments or small houses.
-
Portability: OTGs are compact and portable. They are lightweight which makes it easy for you to move them around when needed.
-
Faster cooking: Due to their smaller size and efficient heating mechanisms, OTGs generally cook food faster than traditional ovens. This can be beneficial when you are in a hurry.
-
Even heating: OTGs typically provide even heating throughout the cooking process. This helps to ensure that your dishes are cooked uniformly, avoiding any unevenly cooked or burnt spots.
OTG vs Regular Oven Vs Microwave
OTG, conventional oven and microwave are household equipment that aids you when you cook. While often used interchangeably, all three appliances are quite different and serve different purposes:
|
Basis of Difference |
OTG |
Regular Oven |
Microwave |
|
Cooking Functions |
Oven, toaster, grill. |
Oven, toaster, grill. |
Reheating, defrosting, quick cooking. |
|
Size and Capacity |
Compact, suitable for smaller kitchens or fewer people. |
Various sizes, including larger options for cooking larger quantities. |
Smaller, ideal for small spaces or individual use. |
|
Cooking Time |
Longer compared to microwaves. |
Longer compared to microwaves. |
Faster, uses microwave radiation for quick heating. |
|
Functionality |
Versatile, suitable for baking, toasting, grilling, broiling, and roasting. |
Versatile, additional convection feature, similar cooking functions. |
Limited, primarily used for reheating and quick cooking. |
|
Cooking Results |
Provides better browning, texture and overall taste compared to microwaves. |
Provides better browning, texture and overall taste compared to microwaves. |
May result in softer or less appealing textures for certain dishes. |
|
Energy Efficiency |
Consumes more energy compared to microwaves. |
Consumes more energy compared to microwaves. |
More energy-efficient, uses less power and cooks faster. |
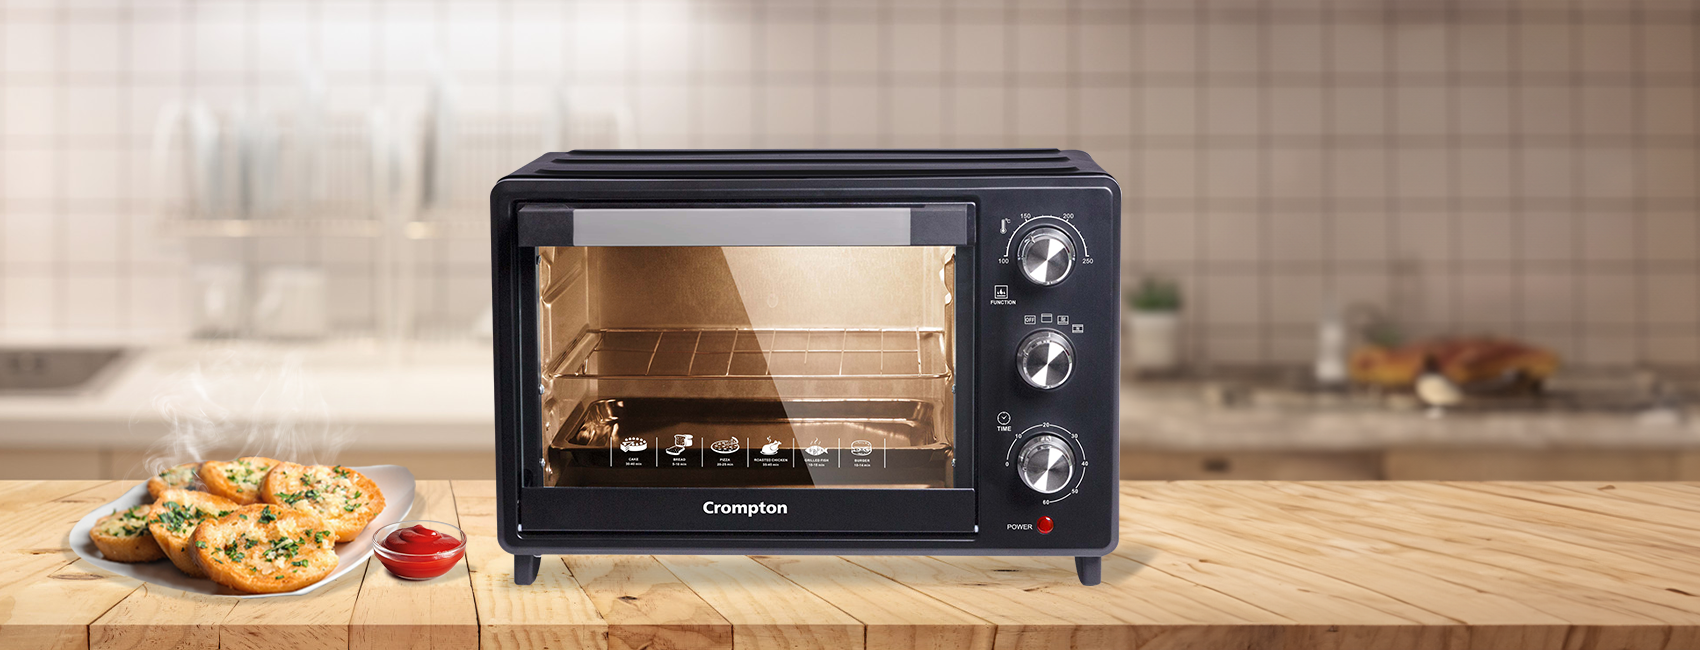
Bake, grill and roast like a pro with the versatile range of Oven Toaster Griller from Crompton
FAQs on How to make Garlic Bread in Oven
Is there a way to reheat garlic bread?
Yes, you can reheat garlic bread. The best way to reheat garlic bread is in an oven or toaster oven to help restore its crispiness.
What temperature should garlic bread be heated to?
Garlic bread should be heated to a temperature of around 175°C (350°F). At this temperature, the bread will become warm and crispy, and the flavours of the garlic butter will infuse into the bread without burning.
Is it possible to freeze garlic bread?
Yes, you can freeze garlic bread for later use. To freeze garlic bread, wrap it tightly in aluminium foil or place it in an airtight box. When you want to use it, simply take it out of the freezer, unwrap it and bake it in a preheated oven at 190°C (375°F) for about 10-15 minutes or until it is heated through and crispy.
Is there a way to make my garlic bread crispier?
Yes, there is. Ensure you coat your bread with olive oil or butter and toast it for few more minutes, uncovered. You can adjust the cooking time and achieve the desired level of crispiness.


-v1782991075952.jpg?1200x1200)


