How to Iron A Shirt
How To Iron a Shirt with Perfection
Ironing a shirt may seem like a mundane task, but it is a skill that can make a significant difference in your appearance. One of the simplest ways to boost your confidence and make a lasting impression is by wearing a perfectly ironed shirt. A crisp, well-ironed shirt can instantly elevate your look, and boost professionalism. Read on to learn how to iron a shirt to get that wrinkle-free and impeccable look.
Types of Electric Irons That You Can Use
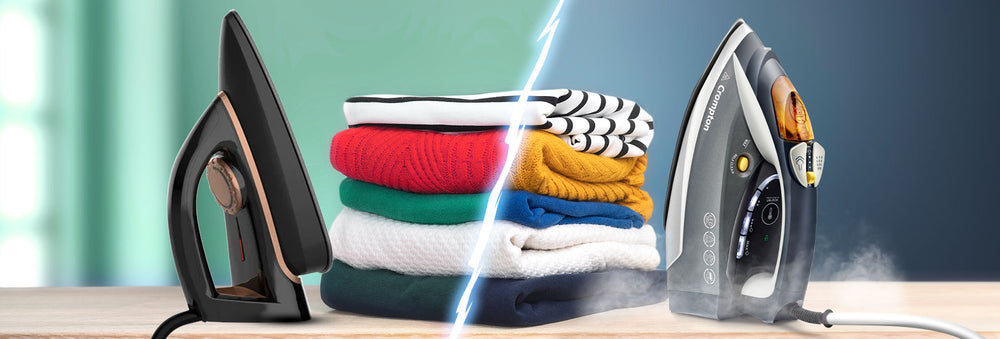
Before we learn how to iron a shirt perfectly, let us see common types of electric irons available:
Steam irons are a popular choice for shirt ironing. They use water to generate steam, which helps to relax and remove wrinkles more effectively. Steam irons come with various settings, allowing you to adjust the steam output to match different fabric types.
Dry irons do not produce steam. Dry irons are ideal for fabrics that are sensitive to moisture or for those who prefer a dry ironing method.
Choosing between a steam iron and a dry iron depends on your specific usage needs, budget, and the types of fabrics you commonly iron. If you often iron a variety of fabrics and require versatility, a steam iron might be the better choice. However, if you primarily work with delicate or synthetic fabrics a dry iron is the way to go.
Benefits of Ironing
Ironing your shirt goes beyond just removing wrinkles. Here are some key benefits:
- Professional appearance: Perfectly ironed shirts convey a professional image and shows your attention to detail and commitment to your appearance.
- Boosts confidence: A well-ironed attire not only makes you look good but also boosts your self-confidence, helping you feel prepared to tackle the day's challenges.
- Prolongs shirt’s life: Regular ironing extends the shirt’s lifespan by reducing wrinkles and preserving fabric quality resulting in less wear and tear.
- Enhanced hygiene: Proper ironing temperature kills bacteria and germs on your shirt that may have accumulated after extended wear or in warm conditions.
What Will You Need to Iron Your Shirt?
Before you start ironing, gather the necessary equipment:
- An electric iron (steam or dry, depending on the fabric type).
- An ironing board with a cover.
- A spray bottle filled with water if you are using a dry electric iron.
- Clean and dry shirts to iron.
- A flat surface for folding the shirts neatly after ironing or a shirt hanger to keep it wrinkle-free.
How Do You Iron a Shirt?
It is time to get your shirt ironed. Just follow these steps simple steps for a wrinkle-free look:
1. Set up your ironing board: Place your ironing board on a flat, stable surface. Ensure it is at a suitable height for you to work comfortably. Cover the board with a clean, heat-resistant cloth.
2. Prepare your iron: Plug in your iron and set it to the appropriate temperature based on your shirt's fabric. Most irons have settings for cotton, linen, wool, and synthetics. Refer to your shirt's care label for guidance.
3. Dampen the shirt: For cotton and linen shirts, lightly dampen the wrinkled areas with a spray bottle filled with water. This moisture will make it easier to remove wrinkles.
4. Begin ironing: Lay your shirt on the ironing board with the collar facing down. Start with the collar and work your way down. Always iron from the inside out to avoid creating new wrinkles. Use the steam function in a steam iron or a damp cloth to press stubborn wrinkles.
5. Sleeves and cuffs: Iron the sleeves and cuffs next. Be sure to smooth out any creases and pay attention to the plackets, and button areas. Unbutton the cuffs before ironing.
6. Front and back: Iron the front and back of the shirt, focusing on one side at a time. Keep the iron moving in smooth, straight lines to avoid scorching the fabric. Pay attention to pockets and seams.
7. Collar and yoke: Lastly, iron the collar and yoke. For the collar, open it up and iron the inside first, then the outside. Be meticulous with the corners. For the yoke, iron it from the inside out, starting at the shoulders and then the back.
8. Hang and inspect: Hang your freshly ironed shirt on a hanger to cool and set the crispness. Inspect it for any missed wrinkles or imperfections and touch them up if necessary.
Ironing Shirts of Different Fabrics
Now that you know how to iron shirts, you ought to know that shirts come in different fabrics, each with specific ironing requirements.
- Cotton shirts: Cotton shirts are resilient and can withstand high heat. Use a hot iron and steam for crisp results. Start inside out and press collar, cuffs, and seams.
- Cotton-blend shirts: Cotton-blend shirts combine cotton's comfort with other fibres' advantages. Use a medium heat setting and steam to prevent from scorching the fabric.
- Linen shirts: Linen wrinkles easily but can handle high heat. Use a hot iron with steam or use a damp cloth and focus on collar, cuffs, and seams.
- Silk shirts: Silk is delicate, so use a low heat setting and a pressing cloth to avoid damage. Iron inside out to keep the fabric's sheen and texture.
Enhance your everyday living experience with Crompton's range of innovative home appliances